Some links in this article are affiliate links. We may earn a small commission at no extra cost to you. As an Amazon Associate we earn from qualifying purchases.
The promise of van life is freedom—the freedom to wake up to a new view, untethered from the grid. But that freedom is powered by, well, power. A dead battery bank can quickly turn an idyllic off-grid paradise into a stressful search for a coffee shop with an outlet. While pre-made solar kits offer a tempting shortcut, they often fail to meet the demands of a serious, full-time van dweller. They’re a starting point, not a final destination.
To achieve true energy independence, you need to move beyond the kit and become the architect of your own electrical system. This guide is for the DIY converter who has moved past the basics and is ready to design a robust, reliable, and perfectly tailored solar panel van setup. We’ll bypass the generic advice and dive into the critical calculations and component choices that separate a weekend warrior’s setup from a full-timer’s powerhouse.
Step 1: Conducting a Rigorous Power Audit
Before you spend a single dollar on panels or batteries, you must complete the most crucial step: a comprehensive power audit. Guessing your power needs is the number one cause of undersized systems and a leading contributor to van life frustration. This is a game of numbers, and precision is your ally.
List Your Appliances and Their Power Draw (Watts)
Create a spreadsheet and list every single electronic device you plan to use in your van. Be exhaustive. Next to each item, find its power consumption in Watts. This information is usually found on a sticker on the device or its power adapter. If it only lists Amps (A) and Volts (V), you can calculate Watts using the formula: Watts = Volts x Amps. For DC appliances, the voltage will typically be 12V.
Here’s a sample list to get you started:
- 12V Compressor Fridge: 50-60 Watts (when running)
- LED Puck Lights (x4): 12 Watts total (3W each)
- Maxxair Fan: 30-35 Watts (on medium)
- Laptop Charger: 65 Watts
- Phone Charger: 18 Watts
- Water Pump: 60 Watts (when running)
- Diesel Heater: 15-40 Watts (startup vs. running)
Estimate Your Daily Usage (Watt-hours)
Next, estimate how many hours per day each appliance will run. This requires an honest assessment of your lifestyle. Multiply the device’s wattage by its daily run time to get your daily energy consumption in Watt-hours (Wh).
- Fridge: 55W x 8 hours (33% duty cycle) = 440 Wh
- Lights: 12W x 4 hours = 48 Wh
- Fan: 30W x 5 hours = 150 Wh
- Laptop Charging: 65W x 3 hours = 195 Wh
- Water Pump: 60W x 0.25 hours (15 mins) = 15 Wh
Sum these figures to find your total daily energy requirement. In this example, the total is 848 Wh.
Factoring in Inverter Inefficiency and Contingency
Your system isn’t 100% efficient. If you’re using an inverter to power AC appliances (like a standard laptop charger), you’ll lose 10-15% of your energy in the conversion process. To account for this and to give yourself a safety net for cloudy days or unexpected needs, add a buffer of at least 25% to your total.
Example: 848 Wh x 1.25 = 1,060 Wh. This is your true daily power target.
Sizing Your Core Components: Panels, Batteries, and Controller
With your daily power target calculated, you can now correctly size the three pillars of your solar system: your solar array, battery bank, and charge controller. Getting this balance right is essential for a healthy, long-lasting system.
Calculating Your Solar Array Wattage
The amount of power your solar panels produce depends on their wattage and the number of “peak sun hours” they receive. A peak sun hour is an hour during which the sun’s intensity averages 1,000 watts per square meter. This varies dramatically by location and season. A conservative average for North America is around 4 hours. For winter use in northern latitudes, it could be as low as 2.
The formula is: Required Solar Wattage = Daily Watt-hours / Peak Sun Hours
Using our example: 1,060 Wh / 4 hours = 265 Watts. To be safe, you would want to install at least 300-400W of solar panels. It’s always better to oversize your solar array than to undersize it.
Choosing Your Battery Bank: AGM vs. Lithium (LiFePO4)
Your battery bank stores the energy your panels collect. The two main choices are Lead-Acid (AGM) and Lithium Iron Phosphate (LiFePO4).
- AGM: A mature technology with a lower upfront cost. However, they are heavy, have a shorter lifespan (500-1000 cycles), and you should only discharge them to 50% to avoid damage (50% Depth of Discharge or DoD).
- LiFePO4: The superior choice for any serious van build. They are significantly lighter, offer a much longer lifespan (3000-5000+ cycles), and can be safely discharged to 80-90% DoD. While the initial cost is higher, their longevity makes them a better long-term investment.
To calculate your required battery capacity in Amp-hours (Ah):
Required Ah = (Total Daily Wh / Battery Voltage) / Max DoD
For a Lithium (LiFePO4) bank (12V system, 90% DoD): (1,060 Wh / 12V) / 0.90 = 98 Ah. A 100Ah lithium battery would be the minimum, but a 200Ah battery would provide a comfortable two-day buffer without any sun.
Selecting the Right Charge Controller: PWM vs. MPPT
The charge controller is the brain of your system. It regulates the flow of electricity from the panels to the batteries, preventing overcharging. There are two types:
- PWM (Pulse Width Modulation): Older, cheaper technology. It essentially acts as a switch, connecting and disconnecting the panels. It can be up to 30% less efficient than MPPT, especially in cold weather or low-light conditions.
- MPPT (Maximum Power Point Tracking): A more sophisticated controller that actively matches the panel’s output to the battery’s voltage, converting excess voltage into current. This maximizes your energy harvest. For any system over 150W, an MPPT controller is the only sensible choice.
Size your MPPT controller based on the maximum voltage (Voc) and maximum current (Isc) of your solar array, which can be found on the back of your panels. Ensure the controller’s ratings are higher than your array’s specifications.
The Roof Real Estate Dilemma: High Roof vs Low Roof Van
The physical size of your van’s roof directly impacts the potential of your solar panel van setup. This is a key consideration when choosing between a high roof vs low roof van.
Maximizing Panel Layout on a High Roof
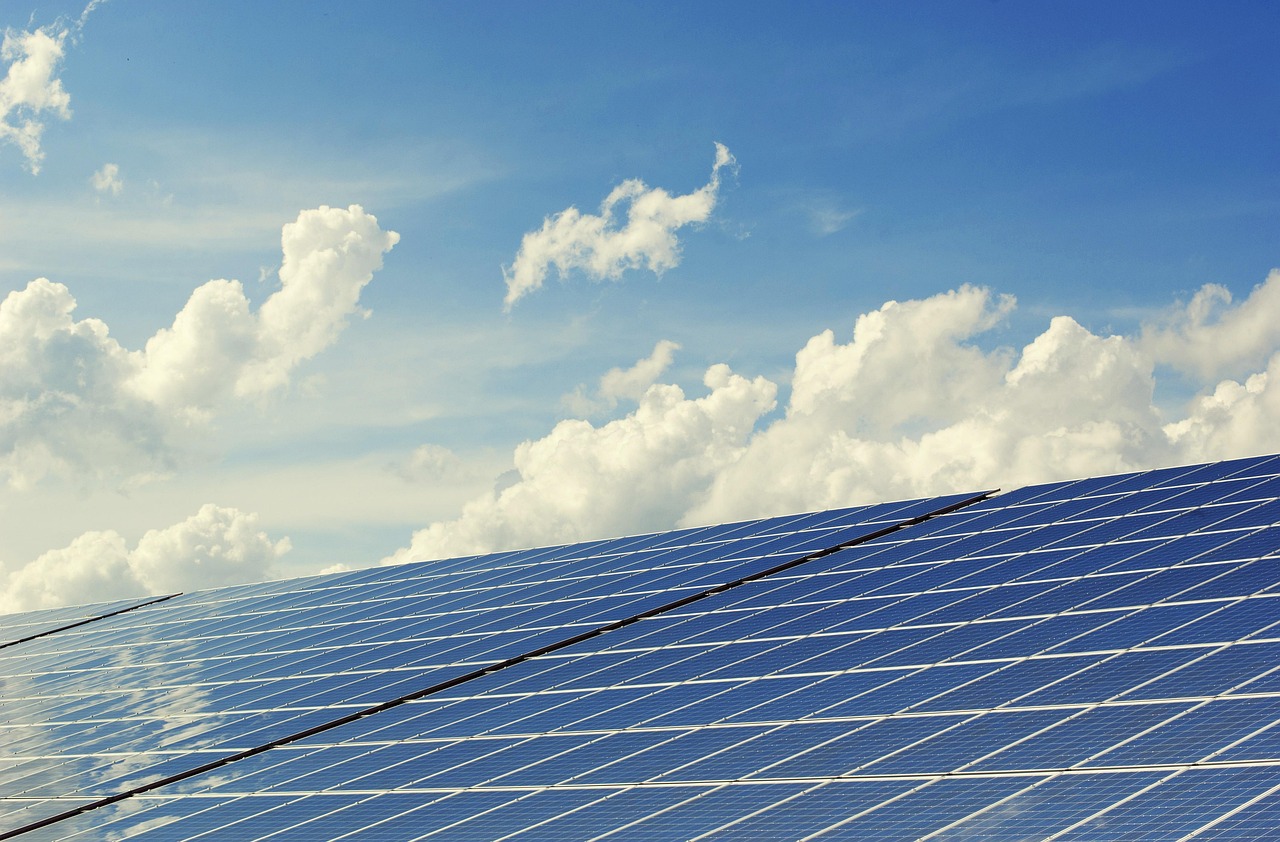
High roof vans like the Mercedes Sprinter or Ford Transit High Roof are ideal for large solar arrays. The expansive, relatively flat roof space allows you to install multiple large, high-efficiency rigid monocrystalline panels. These are typically the most cost-effective and durable panels available. With a roof rack, you can easily mount 400-600W or more, leaving plenty of room for vent fans and skylights. The extra space makes installation easier and allows for an air gap under the panels, which improves their efficiency by keeping them cooler.
Creative Solutions for a Low Roof Van
A low roof van presents a challenge but also an opportunity for stealth. You have less surface area, so every square inch counts. Flexible panels are a popular choice as they can conform to the curve of the roof and maintain a low profile. While they are typically less efficient and have a shorter lifespan than rigid panels, their discreet appearance is a major benefit for stealth camping. Another strategy is to use smaller, multiple rigid panels combined with a tilting mount system. Tilting your panels towards the sun, especially during winter months when the sun is low in the sky, can dramatically increase your power generation by up to 25%.
Wiring and Safety: The Details That Matter
A powerful system is useless if it’s unsafe. Proper wiring and overcurrent protection are non-negotiable for protecting your investment and ensuring your safety.
Choosing the Correct Wire Gauge
Using undersized wire is a critical mistake. It creates resistance, leading to voltage drop (lost power) and, more dangerously, heat that can cause a fire. The correct wire gauge (thickness) depends on the amperage flowing through it and the length of the wire run. The longer the wire and the higher the current, the thicker the wire needs to be. Always consult an AWG (American Wire Gauge) chart and err on the side of a thicker wire (lower gauge number).
Fuses, Breakers, and Master Switches
Every component in your system needs to be protected by a fuse or circuit breaker. Fuses are the designated weak points designed to blow and break the circuit before an overcurrent situation can damage an expensive component or start a fire.
- Fuse between Panels and Controller: Protects the controller from a surge from the panels.
- Fuse between Controller and Battery: This is the most important one, protecting against a catastrophic short from the battery.
- Fuses/Breakers for all Loads: Your main fuse box should have a separate fuse for every circuit (lights, fan, outlets, etc.).
Finally, install a heavy-duty master cutoff switch on the positive line coming directly off your battery bank. This allows you to instantly shut down the entire DC system for maintenance, storage, or in an emergency.
Conclusion: Powering Your Journey
Architecting your own solar panel van setup is a deeply rewarding process. It moves you from being a simple consumer to a creator, giving you an intimate understanding of the system that powers your freedom. By conducting a thorough power audit, carefully balancing your components, considering your van’s physical limitations, and prioritizing safety above all else, you can build an off-grid electrical powerhouse. This robust system won’t just keep your lights on; it will provide the peace of mind to venture further and stay longer, confident in the silent, reliable energy you harnessed from the sun.
Now that you have the blueprint, what’s the biggest power-hungry appliance you’re planning for your build? Share your power audit challenges in the comments below!