Some links in this article are affiliate links. We may earn a small commission at no extra cost to you. As an Amazon Associate we earn from qualifying purchases.
The Foundation of Freedom: Why Your Electrical System Matters
The allure of van life is rooted in freedom—the ability to wake up to a new horizon, untethered from the grid. At the heart of this autonomy lies a well-designed electrical system. While cabinetry and layout often steal the spotlight in a van conversion, it’s the silent, steady power from your solar panel van setup that truly enables a sustainable life on the road. This system dictates whether you can work remotely, keep your food fresh, and stay comfortable in any climate.
However, designing this system can feel daunting. It’s a world of watts, amps, and volts that can seem complex at first glance. The goal of this guide is to demystify the process. We will move beyond generic advice and provide a strategic framework for designing a robust solar system tailored to your specific needs, from calculating your energy consumption to making the crucial decision between a high roof vs low roof van for optimal panel placement.
Step 1: The Critical Energy Audit
Before you purchase a single panel or battery, you must perform an energy audit. This is the single most important step in designing your solar panel van setup. Guessing your power needs is the fastest route to a system that is either frustratingly inadequate or excessively expensive. An energy audit is simply the process of calculating your total daily electrical consumption.
How to Conduct Your Energy Audit
Create a list of every single electronic device you plan to use in your van. For each item, you need to find its power draw in watts (W) and estimate how many hours per day you’ll use it. The formula is simple:
Power (Watts) x Time (Hours) = Energy Consumption (Watt-hours or Wh)
Here’s a sample calculation for a typical van setup:
- LED Lights (4): 3W each x 4 = 12W. Used for 5 hours/day. 12W x 5h = 60 Wh
- 12V Fridge/Freezer: Averages 2A at 12V = 24W. Runs about 8 hours/day (33% duty cycle). 24W x 8h = 192 Wh
- Laptop Charging: 65W charger. Used for 4 hours/day. 65W x 4h = 260 Wh
- Phone Charging (2): 10W each x 2 = 20W. Charged for 2 hours/day. 20W x 2h = 40 Wh
- Maxxair Maxxfan Deluxe: On a medium setting, ~1.5A at 12V = 18W. Runs 6 hours/day. 18W x 6h = 108 Wh
- Water Pump: 5A at 12V = 60W. Runs for 10 minutes (0.17 hours)/day. 60W x 0.17h = 10 Wh
Total Daily Consumption: 60 + 192 + 260 + 40 + 108 + 10 = 670 Wh
This number, 670 Wh, is now your target. It’s the amount of energy your solar system must generate and store every day to keep you powered. Be honest and even slightly overestimate your usage to build in a comfortable buffer.
Anatomy of a Solar Panel Van Setup
Every solar electrical system, regardless of size, consists of four core components working in harmony. Understanding the role of each is key to selecting the right equipment for your needs.
Solar Panels: Your Power Generators
These are the most visible part of your system. They convert sunlight into DC (Direct Current) electricity. There are three main types to consider for a van:
- Monocrystalline: The most efficient and popular choice. They perform well in high heat and low-light conditions and have a long lifespan, making them ideal for the limited roof space of a van.
- Polycrystalline: Slightly less efficient and cheaper than monocrystalline panels. They are recognizable by their blue, speckled appearance. While a viable budget option, their lower efficiency means you need more surface area for the same power output.
- Flexible/Thin-Film: These panels are lightweight and can conform to curved surfaces, making them great for stealth builds or vans with pop-tops. However, they are typically less efficient and have a shorter lifespan than their rigid counterparts.
You will also need to decide whether to wire your panels in series or parallel. Series wiring increases voltage, which is better for long wire runs and low-light performance. Parallel wiring increases amperage and provides better redundancy if one panel is partially shaded.
The Charge Controller: The Brains of the Operation
A charge controller is a non-negotiable component that sits between your solar panels and your battery bank. Its job is to regulate the voltage and current coming from the panels to prevent overcharging and damaging your expensive batteries. There are two types:
- PWM (Pulse Width Modulation): A simpler, older, and cheaper technology. It acts like a switch, rapidly connecting and disconnecting the solar panel to the battery. It is less efficient, especially in cooler weather.
- MPPT (Maximum Power Point Tracking): A more advanced and efficient technology. It actively scans and adjusts to find the optimal voltage and current combination from the panels, converting excess voltage into more charging amps. An MPPT controller can boost your solar harvest by up to 30% over a PWM controller. For nearly all van applications, an MPPT controller like the Victron Energy SmartSolar MPPT 100/30 is the superior investment.
The Battery Bank: Storing Your Energy
Your batteries store the power generated by your panels for use when the sun isn’t shining. The chemistry of your battery is a major decision:
- AGM (Absorbent Glass Mat): A type of sealed lead-acid battery. They are heavy, have a limited depth of discharge (safely usable to only ~50% of their rated capacity), and a shorter lifespan (300-700 cycles). They are a proven, budget-friendly option.
- Lithium (LiFePO4): Lithium Iron Phosphate batteries are the standard for serious van conversions. They are significantly lighter, can be safely discharged to 80-100% of their capacity, and boast a much longer lifespan (3000-5000 cycles). While the upfront cost is higher, their superior performance and longevity make them a better value over time.
The Inverter: Powering Your Household Devices
Your solar panels and batteries operate on DC power. However, many common devices like laptops, blenders, and camera chargers require AC (Alternating Current) power, like what you find in a house. An inverter converts 12V DC power from your batteries to 120V (or 230V) AC power.
The key distinction here is between Modified Sine Wave and Pure Sine Wave inverters. Modified sine wave inverters are cheaper but produce a choppy, stepped electrical signal that can damage sensitive electronics. A Pure Sine Wave inverter, such as the Victron Energy Phoenix Inverter 12/1200, produces clean, stable power identical to a household outlet. For powering anything beyond simple motors or heaters, a pure sine wave inverter is essential.
Sizing Your System: From Audit to Action
With your energy audit complete and a solid understanding of the components, you can now correctly size your system.
Calculating Your Solar Array Wattage
To determine how many watts of solar panels you need, use this formula:
Daily Watt-hours (from audit) / Average Peak Sun Hours = Required Solar Panel Wattage
“Peak Sun Hours” is not the same as hours of daylight. It’s an equivalent measure of the number of hours a day when solar intensity averages 1,000 watts per square meter. This number varies dramatically by location and season. A conservative estimate for most of North America is 4 hours. Using our example:
670 Wh / 4h = 167.5 W
This means you need at least 168W of solar panels to replenish your daily usage. It’s wise to oversize this by 20-25% to account for cloudy days and system inefficiencies. In this case, aiming for 200W would be a safe bet.
Determining Your Battery Bank Capacity
Your battery bank size is determined by your daily usage and how many days of autonomy (days without sun) you want. A good target is 2-3 days.
First, convert your daily Watt-hours to Amp-hours (Ah): Daily Wh / Battery Voltage = Daily Ah
670 Wh / 12V = 55.8 Ah
Now, factor in your desired autonomy and the battery’s depth of discharge (DoD). For a lithium battery with a 90% DoD and 2 days of autonomy:
(Daily Ah x Days of Autonomy) / DoD = Required Battery Capacity
(55.8 Ah x 2) / 0.90 = 124 Ah
Therefore, a lithium battery with a capacity of at least 125Ah would be required. If you were using an AGM battery with a 50% DoD, you would need (55.8 x 2) / 0.50 = 223 Ah, demonstrating the significant size and weight advantage of lithium.
The Roof Real Estate Debate: High Roof vs Low Roof Van
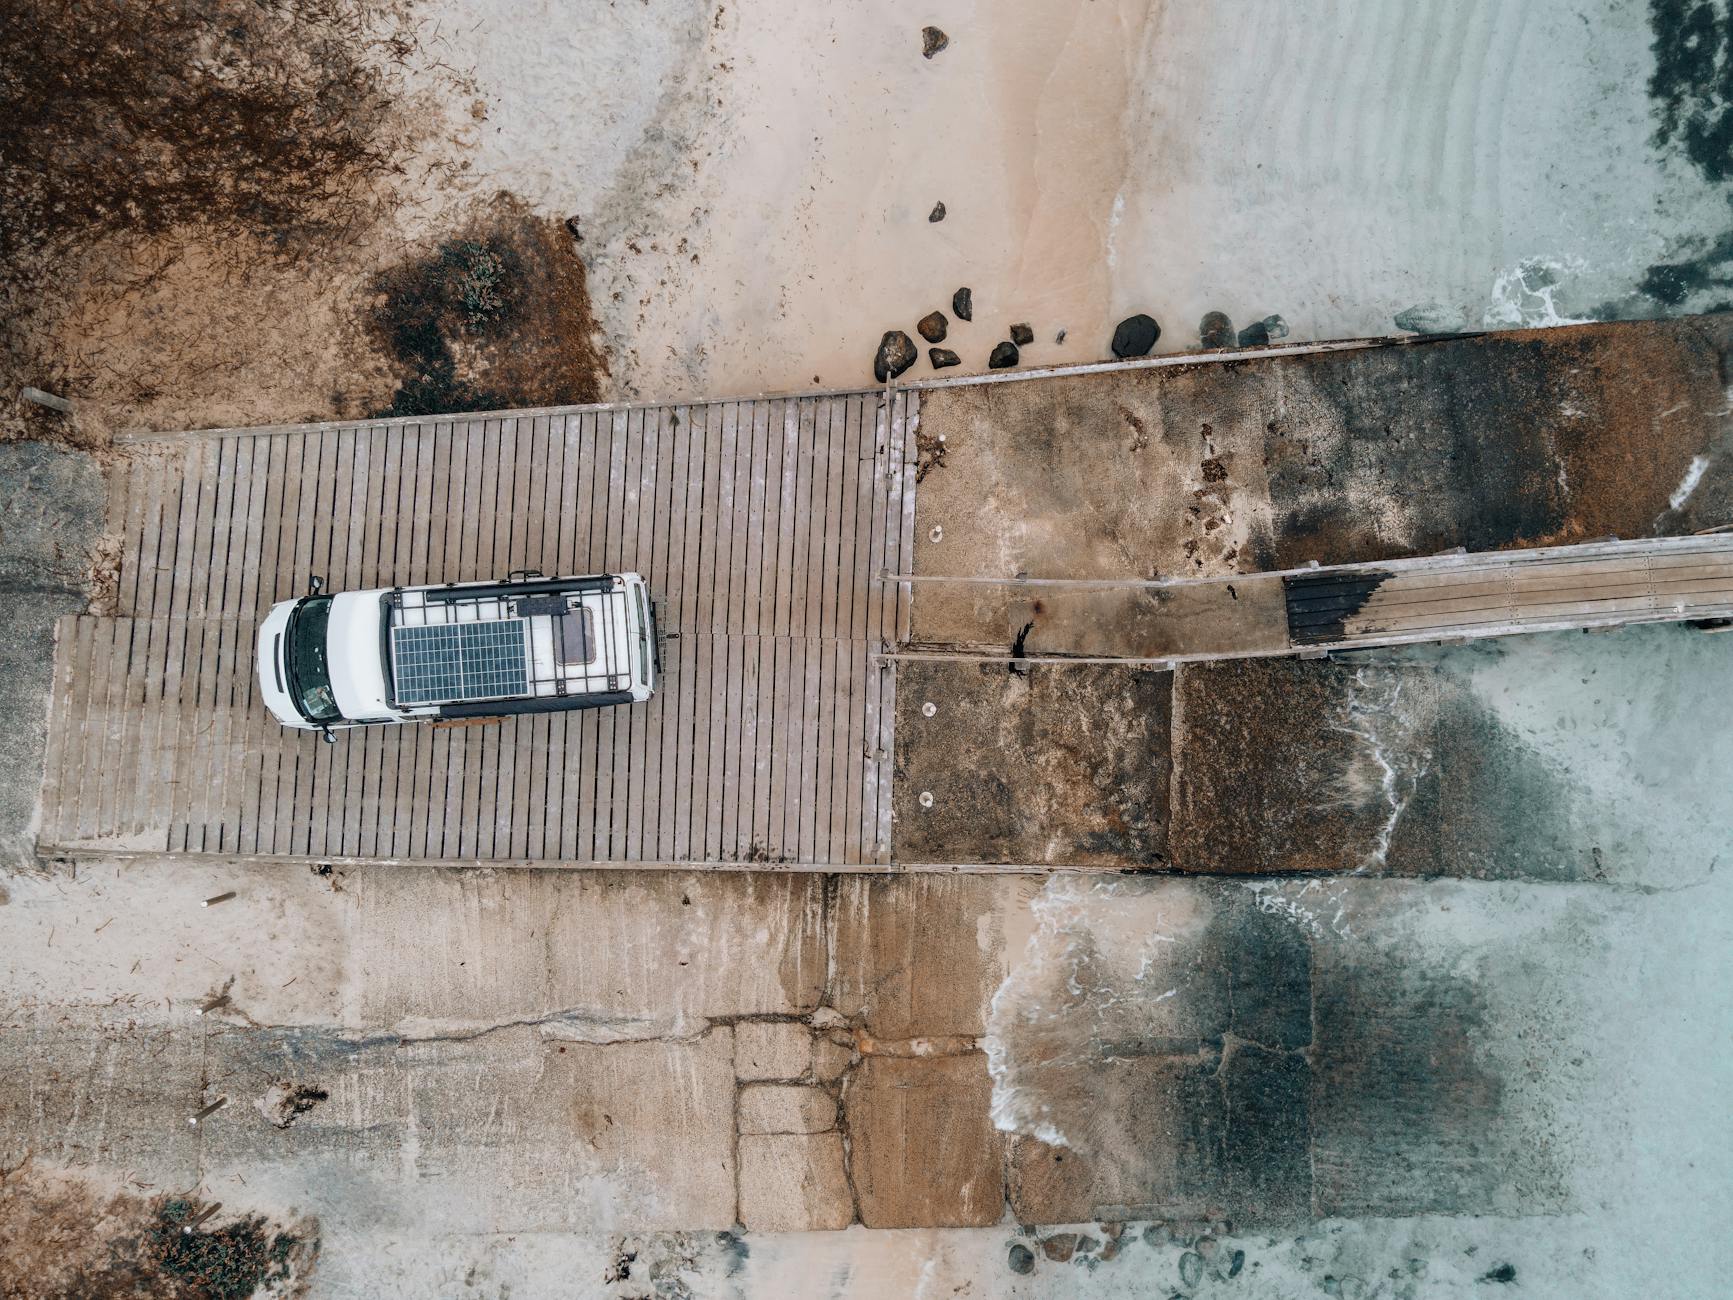
The physical size of your van’s roof is a critical, and often overlooked, constraint in your solar panel van setup. This is where the high roof vs low roof van debate becomes highly relevant.
The High Roof Advantage
Vans like the Mercedes Sprinter, Ford Transit High Roof, and Ram ProMaster offer a massive, relatively flat canvas for your solar array. This provides several key benefits:
- More Power: You can easily fit 400W, 600W, or even more of solar using large, efficient, and cost-effective residential or commercial rigid panels. This allows for more power-hungry appliances and greater energy security.
- Flexibility: The expansive space means you don’t have to choose between solar panels and other roof-mounted accessories. There’s ample room for multiple panels alongside a fan like the Maxxair Maxxfan Deluxe and even a small roof deck.
- Ease of Installation: Working on a large, flat surface is simply easier and safer. You have more options for mounting hardware and cable routing.
Low Roof Strategies: Getting Creative
Low roof vans, like a standard Ford Transit or older campervans, present a challenge. The limited and often curved roof space requires a more strategic approach.
- Flexible Panels: This is where flexible panels shine. They can adhere directly to the roof, maintaining a low profile for stealth camping and fitting into spaces where rigid panels won’t.
- Tilt Mounts: To squeeze more efficiency out of a smaller array, you can install your rigid panels on tiltable mounts. Angling your panels directly towards the sun can increase your power generation by 25% or more, helping to compensate for having fewer panels.
- Portable Panels: A very popular solution is to supplement a smaller roof-mounted array with a portable, ground-deployable solar panel. This allows you to park your van in the shade while placing your panels in direct sunlight, a huge benefit in hot climates.
Conclusion: Powering Your Journey
Designing your solar panel van setup is a journey of understanding your own needs and the technology that can meet them. By starting with a meticulous energy audit, you create a data-driven foundation for all your decisions. From there, you can intelligently select the core components—panels, charge controller, batteries, and inverter—that match your calculations. Finally, considering the physical constraints and opportunities of your van’s roof will ensure your system is not just powerful, but practical.
Don’t be intimidated by the process. Take it one step at a time, and you will build a reliable system that unlocks the true freedom of the open road. Start planning your energy audit today and take the first step toward powering your ultimate adventure.